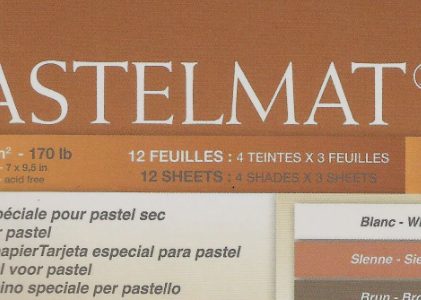
Today, I want to share a couple of ways to transfer a drawing to Pastelmat. The discussion results from a reader question. Here’s the question.
When using paper, I’ve always made a preliminary drawing and then transferred it to the final paper with a light table. Since that doesn’t work with Pastelmat, I tried transfer paper but that just made a mess. Do you ever transfer a drawing to Pastelmat or always work directly on it? I can do a fairly simple picture directly, but with anything complicated I’m much more comfortable working out the details first.
I work directly on Pastelmat when doing a landscape. That’s because I’ve found that most landscapes tend to take on a life of their own while I’m working on them. The final product often doesn’t look like my first vision for it. So I skip the line drawing phase and sketch my composition directly on Pastelmat.
But portraits have to look like the subject. I don’t have the liberty to make changes to the subject, so I work out all the details first.
That’s true for Stonehenge just as much as for Pastelmat.
How to Transfer a Drawing to Pastelmat
However, Pastelmat does require some care in order to get an accurate transfer without making a mess! I’ve done a little bit of experimenting myself, and here’s what I’ve found.
Pastel Pencils
You can shade the back of your line drawing with a pastel pencil, then tape the drawing (pastel side down) to the Pastelmat and trace over the drawing. The pastel pigment comes off quite easily and leaves a clear line drawing.
That’s what I did with this portrait. You can see the shading on the back of my line drawing.
You can also see the smudge around the horse’s mouth, and that the transfer isn’t very dark.
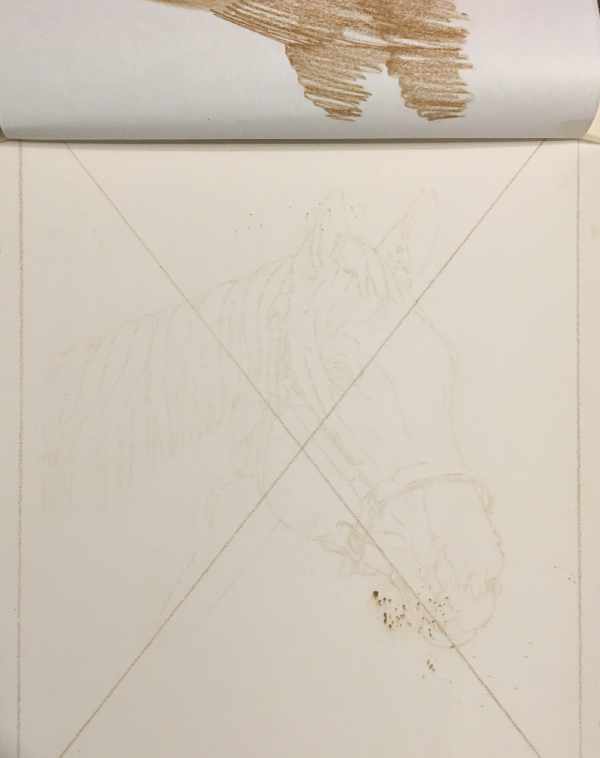
The transferred line drawing doesn’t need to be very dark. In fact, it needs to be just dark enough for you to see it. I was able to begin layering color with this line drawing.
The main disadvantage to this method is that pastel pigment smudges easily on Pastelmat. I was able to remove most of the smudges with mounting putty, but I couldn’t remove all of them. Fortunately, most of them were in the background, which I made black. So I was able to cover the smudges.
One Tip
If you decide to try a pastel pencil, shade the back of the line drawing like I did. But before you do the transfer, use a brush or some other tool to smooth the pastel. Smoothing it out this way might be one way to avoid smudges.
I’ve also heard that a light application of a workable fixative can also help prevent smudging. I have no personal experience with this, but it might be worth a try. Proceed at your own risk!
Graphite Pencils
My favorite way to transfer line drawings to Pastelmat is with graphite. I make a sheet of home-made transfer paper by layering graphite on a piece of ordinary printer paper. I use a 6B graphite pencil and add several layers, changing the direction of my stroking for each layer. Most of the time, I use medium pressure, but sometimes increase the pressure to medium-heavy or heavy.
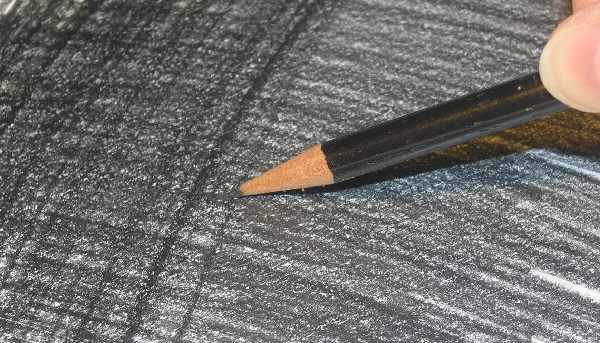
Then I place the transfer sheet face down (graphite side down) on the Pastelmat, tape the drawing over that to the Pastelmat, and transfer the line drawing by tracing over it.
This method requires a bit more pressure than using pastel pigment, but it works just as well.
There are smudges afterward, but I’ve found graphite much easier to remove than pastel pigment.
One Other Tip
One thing I’ve heard other artists do but that I’ve never tried is transferring your line drawing by impressing it into the Pastelmat. Lisa Ann Watkins uses this method and explains it in her book, Drawing Animal Portraits in Coloured Pencil. It sounds like it should work and it works for Lisa, but I’ve not yet found a project on which I think it would be helpful.
How to Transfer a Drawing to Pastelmat
Those are the best ways I know to transfer a drawing to Pastelmat.
Do you have a different way to transfer a line drawing to Pastelmat? I’d like to hear it, and this reader probably would, too. Leave your suggestions in the comments below.
Got a question? Ask Carrie!